Advanced Vaping: What Separates Casual Users from Cannabis Connoisseurs
15 min read
I’ll never forget the session that changed everything for me. Three years into vaping, I thought I’d figured it out. Then a cultivation expert showed me how a 10-degree temperature adjustment and a different draw technique could completely transform the same strain I’d been vaping for months. Suddenly I was tasting terpenes I’d never noticed and getting effects that felt more precisely dialed in.
That experience taught me what many vapers eventually discover: there’s a massive gap between knowing how to operate a device and actually mastering the craft. You’ve moved past the basics, but you’re sensing there’s another level you haven’t reached yet. The difference between intermediate and advanced vaping isn’t about expensive gear or obscure products. It’s about understanding the variables that actually matter and knowing how to manipulate them intentionally.
Temperature control is where most people leave performance on the table. Material preparation gets overlooked entirely, even though it’s arguably more impactful than device choice. Draw technique seems simple until you realize how dramatically different methods extract different compound profiles. And session management, the way you structure an entire experience from start to finish, separates casual users from people who consistently get exactly what they want from their material.
This guide breaks down each of these skill areas with specific, tested techniques. I’ve spent the past year interviewing extraction scientists, master growers, and device engineers to understand the actual mechanisms behind what works. What follows isn’t theory. These are methods that produce measurably better results, and you’ll notice the difference in your very next session.
Why Most Vapers Never Progress Beyond the Basics
Most vapers get stuck in a comfort zone without realizing it. You buy a device, read the quick-start guide, find a temperature that works, and call it done. The vape produces vapor, you feel the effects, so why change anything? This satisfaction with “good enough” is exactly what prevents most users from discovering what their device can actually do.
The problem isn’t lack of effort. It’s that basic functionality feels like success. Your vaporizer heats material and creates vapor, mission accomplished. But there’s a massive difference between operating a device and extracting its full potential. It’s like assuming you’ve mastered cooking because you can boil water. The fundamentals work, but you’re leaving entire dimensions of experience untouched.
I see this constantly when friends show me their vaping routine. They’ve used the same device for months, maybe years, but they’re still running factory settings. Same temperature every session. Same grind size because that’s how their grinder came set. Same draw speed they stumbled into on day one. When I ask why they chose that temperature, the answer is almost always “it’s what the manual recommended” or “it’s the middle setting.”
These casual approaches aren’t wrong, but they’re limiting. Small technique adjustments create compounding improvements. Dialing in your temperature to match specific terpene profiles might improve flavor by 20%. Optimizing your grind consistency might boost extraction efficiency by 15%. Refining your draw technique could enhance smoothness by another 10%. Individually, these seem minor. Together, they transform your entire experience.
The real barrier is information asymmetry. Nobody teaches advanced vaping techniques. Manufacturers want simple instructions that work for everyone, so they aim for the middle. Online forums share conflicting advice. YouTube reviews focus on products, not mastery. Most users never realize there’s a skill ceiling to push toward, let alone how to reach it.
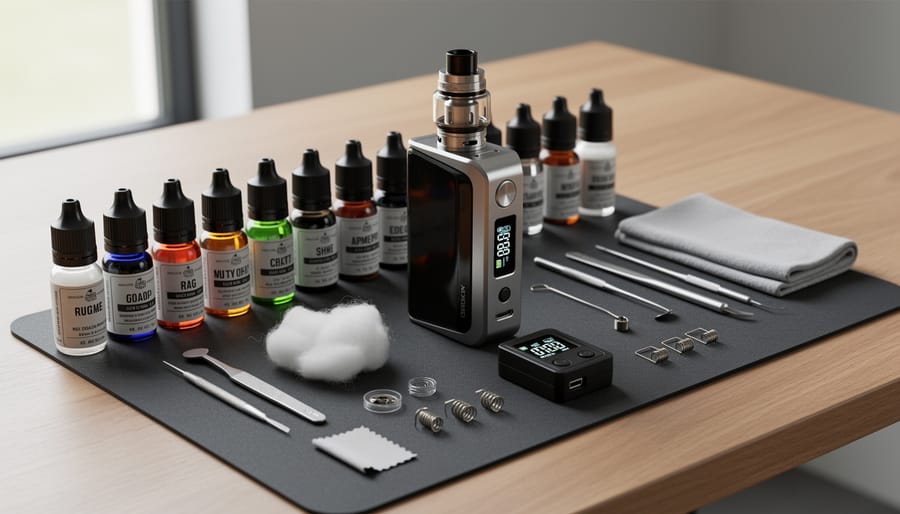
Temperature Mastery: The Foundation of Advanced Vaping
Temperature Stepping for Maximum Extraction
Temperature stepping changed how I vape. Instead of setting one temperature and leaving it there, I start low and gradually increase throughout the session. This technique extracts different cannabinoids and terpenes in stages, giving you more control over your experience and squeezing every bit of value from your material.
Here’s how it works: Cannabinoids and terpenes vaporize at different temperatures. Terpenes like pinene and limonene release around 310-356°F, while THC vaporizes fully at 315-428°F and CBD peaks around 356-392°F. By starting at the lower end and stepping up in increments, you taste the terpenes first when they’re most pronounced, then progressively activate higher-temperature compounds without burning the material.
I typically begin around 320°F for two or three draws to capture the flavor profile and lighter effects. Then I bump it to 350°F for the main session, where THC activation really kicks in. For the final draws, I’ll push to 385-390°F to extract the remaining cannabinoids and any sedative compounds like linalool.
The practical application is simple: Take 2-4 draws at each temperature before increasing by 10-20 degrees. Watch the vapor production. When it thins noticeably, that’s your signal to step up. With convection vaporizers, you can step more aggressively. Conduction devices need gentler increases to avoid scorching.
This isn’t about chasing clouds. It’s about extracting compounds in the order that maximizes both flavor and effect. You’ll notice the difference immediately, especially with terpene-rich strains where that initial low-temp hit delivers flavors that higher starting temperatures would destroy.
Material-Specific Temperature Adjustments
Not all cannabis is created equal, and treating everything the same is amateur hour. I learned this the hard way when I combusted a perfectly good batch of GSC because I didn’t account for how dry it had gotten during storage.
Flower moisture content changes everything about your temperature approach. Fresh, sticky flower needs 10-15°F higher starting temps than dried material. That moisture acts as insulation, requiring more heat to reach the cannabinoids underneath. When your flower feels crispy to the touch, drop your starting temperature to avoid scorching those exposed trichomes. I typically start bone-dry flower at 340°F versus 355°F for properly cured material with some give to it.
Concentrate consistency demands even more dramatic adjustments. Shatter and crystalline isolates vaporize cleanly at higher temperatures (400-430°F) because their stable molecular structure resists degradation. But introduce a terp-heavy live resin or sauce, and you need to dial back to 350-380°F for the first few draws. Those volatile terpenes flash off quickly, and blasting them with high heat wastes the flavor profile you paid premium prices for. The thicker the consistency, the higher you can push without losing compounds to overheating.
Strain-specific terpene profiles add another layer. Myrcene-dominant strains (earthy, musky varieties) tolerate higher temps around 385°F, while limonene-rich citrus strains start losing character above 370°F. Pinene evaporates at just 311°F, so pine-forward strains benefit from ultra-low starts if you want those crisp notes.
The difference between vaporizing and optimizing is paying attention to what you’re actually putting in the chamber. Same device, wildly different settings.
Draw Technique Refinement
Most casual users think of the draw as simple: inhale and get vapor. Advanced vapers understand that how you pull air through your device fundamentally changes what you extract and absorb.
The physics matter here. When you draw slowly, heated air has more contact time with your material, extracting more compounds per breath. Think of it like steeping tea: a quick dunk versus a proper soak produces completely different results. I spent months using fast, shallow draws before someone explained this to me at a vape meet. One session with deliberate, controlled breathing completely changed my approach.
Start your draw slowly, giving the heater time to reach optimal temperature before vapor production begins. This priming phase, about two seconds depending on your device, prevents hot spots and ensures even heating across the chamber. Then maintain steady, moderate pressure throughout the pull. Imagine sipping hot coffee, not gulping water. This controlled flow rate keeps temperatures stable and produces denser, more flavorful vapor than erratic pulling.
Your lung capacity plays a role most people overlook. A full, deep breath that fills your lower lungs holds more vapor and increases surface area for absorption. Instead of chest breathing, practice diaphragmatic breathing: expand your belly first, then chest. This technique alone improved my sessions noticeably, particularly with lower-temp draws where vapor density is less obvious.
The hold matters too. After a complete inhale, pause for three to five seconds before exhaling. This isn’t about depriving yourself of oxygen; it’s giving cannabinoids time to absorb across lung tissue. Vapor contains smaller particles than smoke, which means faster absorption if you give it a moment.
Pay attention to resistance feedback from your device. Restricted airflow concentrates heat but requires gentler draws to avoid combustion-range temperatures. Wide-open airflow needs stronger, more forceful pulls to maintain vapor production. Advanced users adjust their technique to match their device’s characteristics rather than fighting against them.
Temperature changes during your draw affect extraction. A slow start warming into a stronger finish can pull different terpenes and cannabinoids in one breath. Experiment with varying your draw speed mid-pull. You will taste the difference immediately.
Grind Consistency and Material Preparation
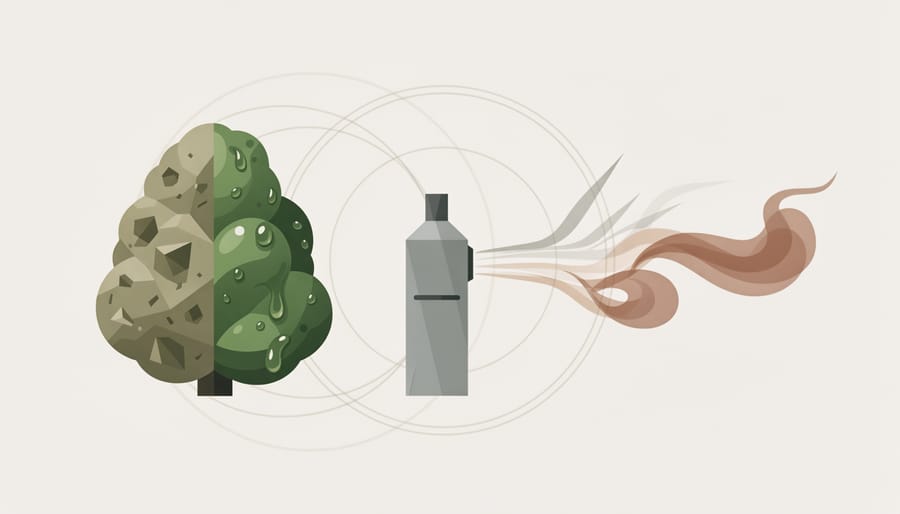
Most casual vapers grab a grinder, twist a few times, and dump whatever comes out into their device. Advanced users treat material preparation like a chef selecting knife cuts for different dishes, because grind consistency directly affects airflow, heat distribution, and extraction efficiency.
The ideal grind texture varies by device type. Conduction vaporizers work best with finely ground material that maximizes surface contact with heated walls, while convection devices need a medium grind that allows hot air to flow through without restriction. Pack too-fine material in a convection vape and you’ll choke airflow, creating uneven extraction and wasted vapor. Use too-coarse chunks in a conduction chamber and you’ll get spotty heating with charred edges and green centers.
Moisture content matters more than most realize. Bone-dry flower produces harsh vapor and combusts easily at lower temperatures, while overly moist material steams before it vaporizes, diluting flavor and wasting heat energy. Advanced users often rehydrate slightly dry material 12-24 hours before a session using humidity packs or briefly storing it with orange peel (removed before use to prevent mold). Conversely, sticky-fresh flower benefits from a brief open-air rest to reduce excess moisture.
Here’s how preparation techniques align with specific outcomes:
- Fine, uniform grind with dry material: maximum surface area for quick, thorough extraction in conduction devices
- Medium, fluffy grind with optimal moisture: balanced airflow and flavor preservation in convection vaporizers
- Hand-torn chunks: preserves trichome integrity for low-temperature flavor-focused sessions
- Upside-down grinding technique: prevents material from falling through grinder holes prematurely, creating more consistent particle size
- Flash-freezing sticky concentrates before grinding: easier handling and more even distribution when mixing with flower
When to skip the grinder entirely? Premium flower with intact trichomes and perfect moisture benefits from gentle hand-separation for initial low-temperature sessions, then re-grinding the partially vaped material for a second high-temperature extraction. This two-stage approach lets you taste delicate terpenes first before pushing for complete cannabinoid extraction.
Storage immediately before use also matters. Material straight from a cool, dark container performs differently than flower left at room temperature for an hour. Some advanced users deliberately warm their material to room temperature before grinding to reduce static cling and achieve more consistent particle distribution.
Session Timing and Pacing Strategies
Most casual users treat vaping sessions like microwaving food, set a temperature, inhale until nothing remains, then reload. Advanced users recognize that timing transforms the same material into completely different experiences.
The three-minute myth pervades entry-level advice: heat your device, take draws for a few minutes, and finish. This approach wastes half your material’s potential. Temperature stepping works best when paired with deliberate pacing. Start your session at a lower temperature (340-355°F), take three to four slow draws over two minutes, then pause for five minutes minimum. This interval lets your endocannabinoid system process the initial compounds before you introduce higher-temperature actives. When you resume at 375-385°F, you’ll notice effects building rather than plateauing.
I learned this after complaining to a budtender friend that my sessions felt one-dimensional. He timed my draws, I was rushing through material in under four minutes, essentially creating a single wave of effects instead of a layered experience. Slowing down changed everything.
Multi-session extraction extends this principle. Quality material survives three distinct sessions when properly paced: morning (low temp), afternoon (medium), evening (high). Between sessions, store your partially-vaped material in an airtight container. The remaining compounds don’t degrade significantly over 12-24 hours, and you’ll extract different terpenes and cannabinoids each time. Yes, later sessions produce less vapor, but potency remains if you haven’t charred the material initially.
The efficiency gain is remarkable. A single bowl that lasted me one rushed session now provides three distinct experiences across a day. Draw duration matters too, eight-second pulls extract more completely than quick puffs, but going beyond twelve seconds just cools your chamber without meaningful benefit.
Device Maintenance for Peak Performance
I used to think cleaning the chamber after every few sessions was enough until I noticed my supposedly ‘working’ device producing wispy vapor and muted flavors. A mentor showed me his vaporizer, same model, six months older than mine, that hit like it was brand new. The difference wasn’t the device. It was how he maintained it.
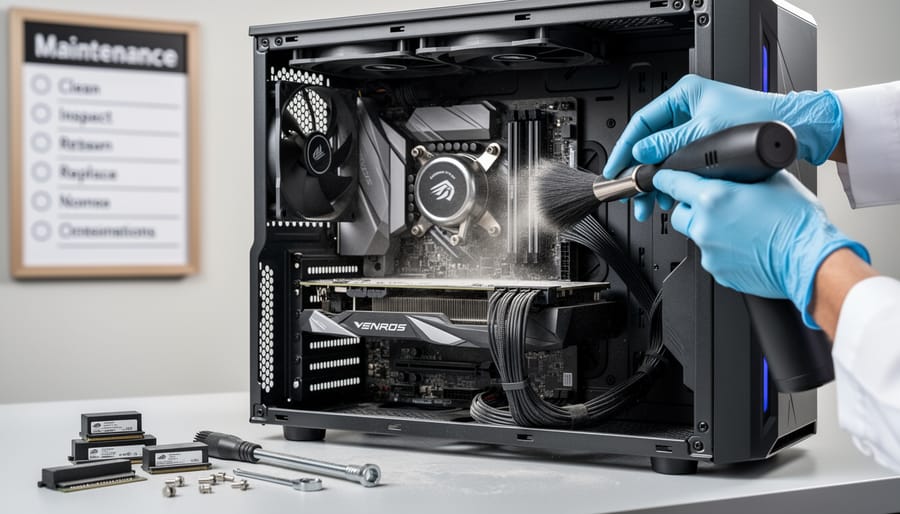
Advanced users treat their vaporizers like precision instruments because that’s exactly what they are. Beyond wiping the chamber, true maintenance means addressing performance degradation before you notice it affecting your sessions.
Start by establishing a deep cleaning protocol that goes deeper than casual maintenance:
- Disassemble all removable components including screens, gaskets, and cooling units, parts many users never touch between sessions.
- Soak metal and glass parts in 99% isopropyl alcohol for 30 minutes, agitating periodically to dislodge accumulated resin from threads and airflow channels.
- Use pipe cleaners or interdental brushes to scrub internal pathways where vapor travels, focusing on areas you can’t see during normal cleaning.
- Inspect rubber gaskets and silicone seals for degradation, checking for hardening, cracking, or loss of elasticity that affects the airtight seal.
- Clean electrical contacts with a cotton swab barely dampened with isopropyl, removing oxidation that increases resistance and reduces heating efficiency.
- Dry all components completely with compressed air or let them air-dry for several hours before reassembly.
This thorough cleaning should happen every two weeks with regular use, not monthly.
Component replacement follows predictable timelines that casual users often miss. Screens degrade after 40-50 sessions regardless of cleaning, the mesh stretches and hot spots develop. Gaskets need replacement every 4-6 months even if they look fine, as compression sets in and air leaks develop. Batteries lose capacity after 200-300 charge cycles, which means noticeably shorter sessions around the one-year mark for daily users.
Watch for subtle performance degradation signs: slightly longer heat-up times indicate heating element calcification, metallic taste points to gasket breakdown, and uneven extraction suggests screen warping. Advanced users replace components on schedule rather than waiting for obvious failure, maintaining consistent performance instead of gradually declining quality they adapt to without realizing.
Mixing Strains and Concentrates: Advanced Combinations
Combining flower and concentrates transforms your sessions from single-note experiences into layered, complex highs. The sandwich method remains the most reliable starting point: place a thin layer of ground flower at the bottom of your chamber, add a small dab of concentrate in the center, then top with another layer of flower. This buffer prevents the concentrate from directly contacting heating elements and creating uneven vaporization or residue buildup.
I learned this technique after ruining a chamber by placing shatter directly on the heating plate. The cleanup took an hour, and the session produced harsh, uneven vapor. Now I never skip the flower buffer, even when I’m impatient.
Start with a 3:1 flower-to-concentrate ratio by volume. Concentrates deliver significantly more cannabinoids per gram than flower, so a rice-grain-sized piece of wax paired with 0.3g of flower creates noticeable enhancement without overwhelming the experience. Temperature becomes crucial here, begin at 350°F to vaporize the flower’s lighter terpenes, then step to 380°F once vapor production thins. This staged approach prevents the concentrate from vaporizing too quickly while the flower still contains active compounds.
Different concentrate types behave distinctly. Crumble and sugar wax distribute more evenly through flower when you break them into smaller pieces before sandwiching. Live resin and sauce work better as thin smears across the middle flower layer rather than concentrated globs. Shatter requires slightly higher temperatures (add 5-10°F to your normal range) because its stable molecular structure resists vaporization.
Safety consideration: concentrates can leave residue that degrades your device faster. Clean your chamber after every third combined session rather than waiting for performance to decline. Some devices explicitly warn against concentrate use in their manuals, check yours before experimenting. Mixing increases potency substantially, so reduce your standard session amount by one-third when starting out.
Reading Your Vapor: Visual and Sensory Feedback
Most vapers treat their sessions on autopilot, but the vapor itself tells you everything about what’s happening inside your chamber. I learned this the hard way after months of wondering why some sessions delivered intense flavor while others felt flat, even using identical material. The difference wasn’t the flower, it was my failure to read what the vapor was showing me.
Vapor density provides your first layer of feedback. Thin, wispy clouds early in a session usually signal insufficient temperature or poor material contact with the heating element. Thick, milky vapor suggests optimal extraction, but excessively dense vapor at lower temperatures often means your material is too dry or you’re drawing too hard. Advanced users adjust their draw speed mid-session based on what they see, slowing down when vapor production peaks and slightly increasing airflow as extraction progresses.
Taste transitions matter just as much. Fresh material produces bright, terpene-forward flavor that shifts noticeably throughout extraction. When vapor moves from crisp and aromatic to neutral or slightly bitter, you’ve depleted the lighter terpenes and are now extracting heavier cannabinoids. That bitterness isn’t a sign to stop, it’s feedback to either step up temperature for deeper extraction or recognize you’ve reached your preferred endpoint.
Color changes in the vapor itself offer subtle clues. Blueish-tinted vapor at lower temps indicates terpene-rich extraction. As you progress, vapor becomes whiter and eventually takes on a faintly yellowish cast before thinning out completely. Watch your already-vaped material too. Even golden-brown material can produce surprising vapor when you bump temperature, while dark brown material with green flecks means uneven heating that technique adjustments can fix.
This sensory awareness transforms vaping from routine to responsive, letting you extract exactly what you want from every session.
Common Advanced Vaping Mistakes to Avoid
I’ve seen plenty of experienced vapers sabotage their sessions by pushing advanced techniques past the point of diminishing returns. The most common trap is obsessive temperature micro-adjustments, constantly tweaking settings mid-session in pursuit of the perfect hit. This constant fiddling disrupts the natural extraction flow and prevents you from actually experiencing what each temperature setting delivers. You can’t evaluate a technique if you never let it stabilize.
Over-packing chambers ranks second. Advanced users often assume that maxing out chamber capacity will maximize extraction, but cramped material restricts airflow and creates uneven heating. I learned this the hard way after wasting an expensive eighth of premium flower that never fully vaporized because I packed it like I was stuffing a Thanksgiving turkey.
Other pitfalls that derail even seasoned users:
- Chasing cloud size over flavor quality, sacrificing terpene preservation for visible vapor production
- Skipping device cooldown between sessions, which degrades heating elements and reduces long-term performance
- Mixing incompatible techniques, like combining aggressive draw speed with low temperatures that need gentle airflow
- Over-drying material in pursuit of perfect grind consistency, removing beneficial moisture that aids smooth extraction
- Ignoring your own tolerance and preferences while following someone else’s optimal settings
The biggest mistake is treating advanced vaping as a competition rather than customization. Techniques exist to serve your specific goals, whether that’s flavor, efficiency, or effect profile. When a method stops improving your experience and becomes a ritual you follow because it sounds sophisticated, you’ve crossed from advanced to unnecessarily complicated. Step back occasionally and ask whether your techniques actually enhance your sessions or just make them more elaborate.
The path from casual vaping to genuine mastery isn’t a race with a finish line. I’ve watched friends transform their sessions over months, not weeks, by systematically testing one variable at a time. Some discovered their sweet spot at lower temperatures than I prefer. Others found that techniques I swear by didn’t match their lungs or lifestyle. That’s the point.
Advanced vaping techniques exist to serve you, not to become another set of rules you’re failing to follow. If temperature stepping gives you headaches, skip it. If your draw technique feels forced, adjust it. The goal is better experiences on your terms, not checking boxes on someone else’s list.
Start with one technique from this guide. Maybe it’s refining your grind consistency or paying closer attention to vapor color. Give it two weeks of honest experimentation before deciding if it works for you. Keep what helps. Discard what doesn’t. Your ideal approach will look different from mine, and that’s exactly how it should be.
The cannabis vaping community thrives when we share what actually works in practice, not just in theory. I’m still learning from conversations with other experienced users who’ve figured out angles I hadn’t considered. That exchange of real-world knowledge is where the next level of advanced vaping gets discovered.
Your next session is your next opportunity to learn something new about your preferences, your device, or your material. Approach it with curiosity instead of routine, and you’re already advancing.